Biotech Explained · Life Sciences Careers
Aseptic Technique Step by Step: What It Is and How to Do It
Product links may earn us a commission. As an Amazon Associate I earn from qualifying purchases.
Aseptic technique is the set of working habits that keeps unwanted microbes out of a culture, a sterile reagent or a sterile instrument while you handle it, and keeps the organism you are working with inside its container. Nothing about it is exotic. It is a fixed order of small actions: disinfect the surface, open things briefly and only a little, never touch what must stay sterile, close up promptly. Done the same way every time, it is the difference between a clean plate and a fuzzy one.
This page covers aseptic technique in microbiology (loops, plates, broth) and notes where cell culture work differs. In hospitals the same term describes procedures that protect patients, such as placing a catheter. That is a clinical skill with its own training and is not covered here.
Bench shortlist
| Item | Use | Note |
|---|---|---|
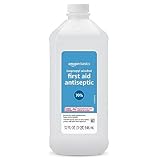
| 70 % isopropyl alcohol$7.49 Amazon listing, Oct 21, 2026, 12:33 PM ETOpen on Amazon | For wiping down benches and gloves before sterile work; 70 % works better than higher strengths because the water helps it act. | 70 % · 32 fl oz |
| Powder-free nitrile gloves$9.99 Amazon listing, Oct 21, 2026, 12:33 PM ETOpen on Amazon | Disposable gloves for handling reagents and cultures; pick your size on the listing. | nitrile · powder free · box of 100 |
| Pre-poured LB agar plate kit$17.95 Amazon listing, Oct 21, 2026, 12:33 PM ETOpen on Amazon | Ready plates and swabs for a first go at streaking and growing colonies, aimed at school projects. | pre-poured LB agar · swabs included |


Picked from specifications, manuals and published reviews, not tested by us. Product prices and availability are accurate as of the date/time indicated and are subject to change.
Aseptic vs sterile: the words people mix up
| Term | Meaning | Example |
|---|---|---|
| Sterile | free of all living microbes, including spores | an autoclaved bottle of broth, a sealed sterile loop |
| Sterilization | a process that makes something sterile | autoclaving, dry heat, filtering a liquid through a 0.2 µm membrane |
| Disinfection | killing most microbes on a surface, not necessarily spores | wiping the bench with 70 % alcohol |
| Aseptic technique | working methods that keep sterile things sterile and cultures pure | flaming a tube neck, lifting a plate lid only a little |
| Clean technique | reducing microbes without aiming for sterility | washing glassware before it is autoclaved |
So, aseptic technique vs sterile technique: "sterile" describes the state of an object, and "aseptic" describes how you behave so that sterile objects stay that way. People often say "sterile technique" when they mean aseptic technique, and in most labs the two phrases name the same routine.
Bench essentials
- Pre-poured LB agar plate kit$17.95 Amazon listing, Oct 21, 2026, 12:33 PM ETOpen on Amazon
- 70 % isopropyl alcohol$7.49 Amazon listing, Oct 21, 2026, 12:33 PM ETOpen on Amazon
- Powder-free nitrile gloves$9.99 Amazon listing, Oct 21, 2026, 12:33 PM ETOpen on Amazon
Chosen from specifications and published reviews. As an Amazon Associate I earn from qualifying purchases. Product prices and availability are accurate as of the date/time indicated and are subject to change. All bench picks
Where contamination comes from
Microbes reach a culture by a handful of routes. They fall out of the air on dust, skin flakes and droplets from talking. They come off surfaces and hands. They ride in on instruments that were never sterile or were touched after sterilizing. And they arrive in reagents that were contaminated earlier. Every step below blocks at least one of those routes, and if you know which route a step blocks, you will remember the step.
What you need
- 70 % isopropyl alcohol or 70 % ethanol in a spray bottle, plus paper towels
- Gloves and a lab coat, long hair tied back
- A Bunsen burner or electric sterilizer for metal loops, or sterile disposable loops
- Sterile agar plates or broth tubes, and your source culture
- A marker for labels and a biohazard waste container
The method, step by step
Before anything is opened
- Clear the bench. Keep only what this task needs, arranged so you never reach over an open plate or tube.
- Wash your hands, then put on your lab coat and gloves.
- Disinfect the work surface with 70 % alcohol and let it dry. Alcohol is flammable: let it evaporate fully before lighting a burner, and never spray it near a flame.
- Label plates and tubes on the base, not the lid, because lids get swapped. Write the date, your initials and the organism or sample.
- Light the burner if you use one and adjust it to a steady blue cone. Many teaching labs work close to the flame on the idea that rising hot air carries particles away from the work; how much protection that gives is debated, but the flame is certainly needed for sterilizing metal loops.
While a culture is open
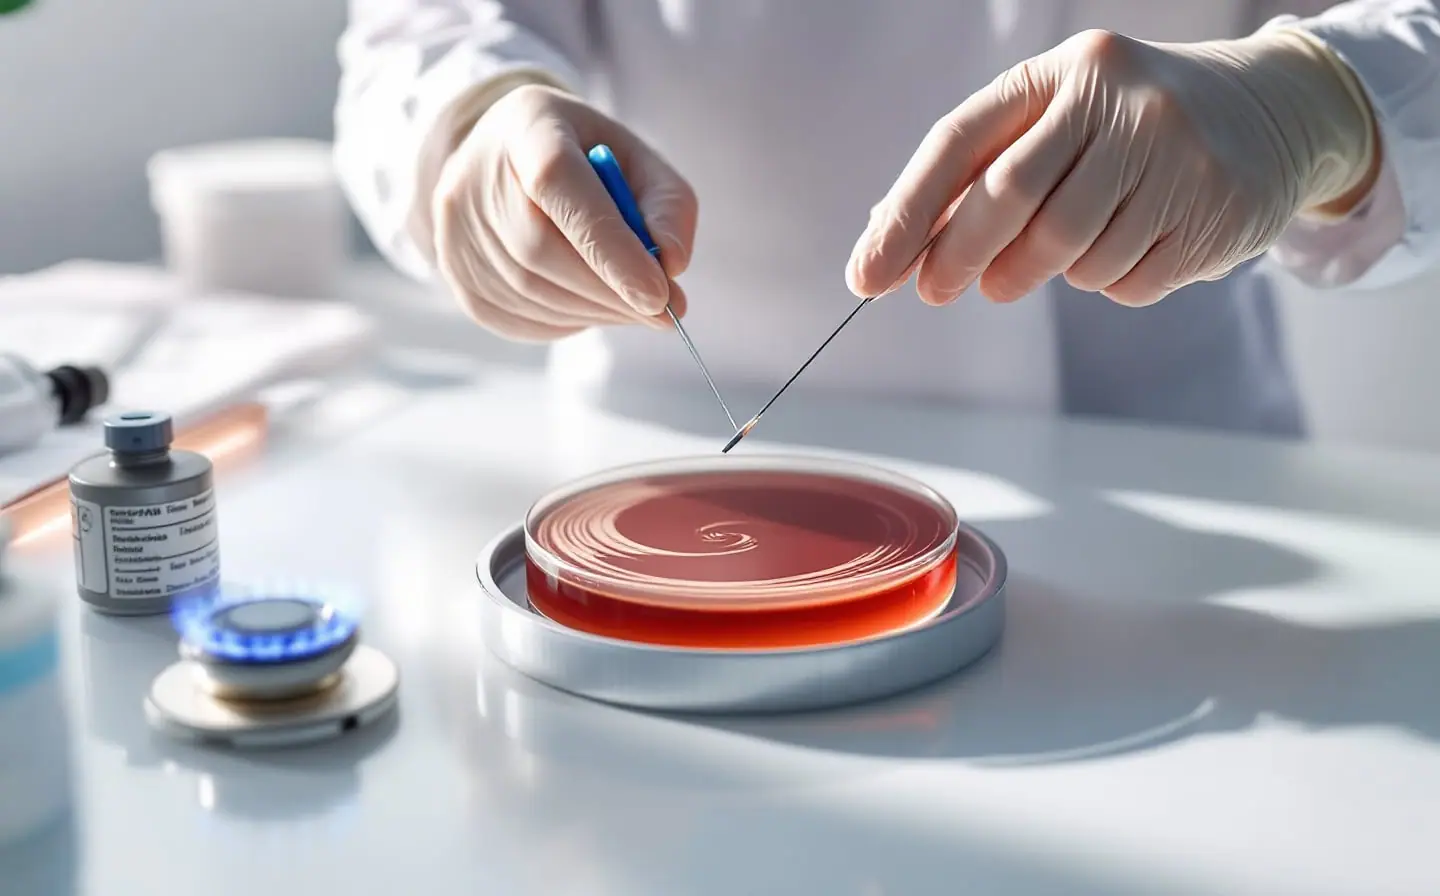
- Sterilize a metal loop. Hold it in the cooler inner part of the flame first so any material on it dries without spattering, then move it into the hottest zone, just above the blue cone, until the whole wire glows red. Let it cool for 10 to 20 seconds, or touch it to sterile agar at the edge of the plate. A hot loop kills the cells you pick up. Disposable loops come sterile: open the pack at the handle end and use each loop once.
- Open containers as little as possible, for as short a time as possible. Lift a plate lid at an angle, like a clamshell, just enough for the loop, and keep hold of it.
- Hold tube caps in the little finger of the hand holding the loop. Never put a cap down on the bench.
- Pass the neck of a glass tube or bottle briefly through the flame after opening and before closing. Skip this step for plastic, which melts.
- Keep tubes tilted and plates close to you, so particles falling from above do not drop straight into the opening.
- Don't talk, cough or lean over open cultures. Move steadily; sweeping arm movements stir the air.
- Close each container as soon as you have finished with it.
Afterwards
- Sterilize a metal loop again before you put it down, or drop a disposable loop straight into biohazard waste.
- Incubate plates upside down, agar side up, so condensation does not drip onto the colonies. Tape them shut if your instructions say so.
- Disinfect the bench again, remove your gloves and wash your hands. Contaminated material goes to the autoclave or into disinfectant under your institution's waste rules.
Worked example: streaking a plate for single colonies
The quadrant streak is the standard test of aseptic technique in microbiology, because a pure culture gives one kind of colony and contamination usually shows up as a colony that looks different.
- Label the base of an agar plate and divide it into four sectors with a marker line.
- With a sterile loop, pick up a small amount of growth from a single source colony, or one loopful of broth.
- Streak back and forth across sector 1, holding the loop nearly flat so it glides over the agar rather than digging in.
- Sterilize the loop or take a fresh disposable one. Drag it through the end of sector 1 two or three times and carry the streak into sector 2.
- Repeat from sector 2 into sector 3, and from 3 into 4. Each pass thins the cells, so by sector 4 they are far enough apart to grow as separate colonies.
- Close the plate, invert it and incubate at the temperature your protocol gives.
After incubation, the first sector should be dense growth and the last should show single, round colonies that all look alike: same color, texture, edge and size. A colony with a different look, especially near the rim or along the edge where the lid was lifted, points to something that got in.
How to check your technique
- Run a negative control. Take one plate through the whole routine except the inoculation: open it, run a sterile loop over it, close it and incubate it with the others. It should stay blank.
- Expose a settle plate. Leave one plate open on the bench for a set time, say 15 minutes, and incubate it. The colonies show what falls out of the air where you work. Cleanrooms use the same method for routine air monitoring.
- Look for a pattern. Contamination on every plate from one session suggests a shared source, such as a broth or the bench. Contamination on a single plate suggests a slip at one step.
Common mistakes
- Spraying alcohol and lighting the burner straight away. That is a genuine fire risk; wait for the surface to dry.
- Choosing 99 % alcohol because it seems stronger. Around 70 % works better: the water helps the alcohol get into cells and denature their proteins, and it evaporates more slowly, so it stays in contact longer.
- Putting lids or caps face down, or face up, on the bench. Keep hold of them.
- Taking a red-hot loop straight into a culture.
- Labeling the lid instead of the base.
- Opening plates "to have a look" during incubation. Every opening is another chance for airborne contamination.
- Using an open flame inside a biosafety cabinet. It disrupts the airflow the cabinet depends on and can damage the filter.
Cell culture and the biosafety cabinet
Mammalian cell culture applies the same principles inside a Class II biosafety cabinet rather than beside a flame. The cabinet blows HEPA-filtered air down over the work surface and draws room air in at the front grille, protecting the culture, the worker and the room. The CDC and NIH manual Biosafety in Microbiological and Biomedical Laboratories (BMBL) sets out the standard habits: let the cabinet run for a few minutes before starting, work at least four inches back from the front grille, keep the grilles clear, move your arms slowly in and out, and wipe everything that goes in with 70 % alcohol. Pipetting from sterile bottles uses sterile filter tips, with the technique in our guide on how to use a micropipette. For the same habits at production scale, with gowning and environmental monitoring on top, see a day in a cell therapy manufacturing lab.
For school and home microbiology, use harmless organisms supplied for teaching, and treat plates swabbed from the environment as unknowns: tape them shut, don't open them after incubation, and dispose of them by autoclaving or soaking in disinfectant. Teaching-lab biosafety guidelines, such as those from the American Society for Microbiology, set out precautions of this kind. If you then want to see what grew, the compound microscope guide covers focusing and slide handling.
Bench essentials
- 70 % isopropyl alcohol70 % · 32 fl ozFor wiping down benches and gloves before sterile work; 70 % works better than higher strengths because the water helps it act.$7.49 Amazon listing, Oct 21, 2026, 12:33 PM ETOpen on Amazon
- Powder-free nitrile glovesnitrile · powder free · box of 100Disposable gloves for handling reagents and cultures; pick your size on the listing.$9.99 Amazon listing, Oct 21, 2026, 12:33 PM ETOpen on Amazon
- Pre-poured LB agar plate kitpre-poured LB agar · swabs includedReady plates and swabs for a first go at streaking and growing colonies, aimed at school projects.$17.95 Amazon listing, Oct 21, 2026, 12:33 PM ETOpen on Amazon
Picked from specifications, manuals and published reviews; we have not tested these items ourselves. Product prices and availability are accurate as of the date/time indicated and are subject to change. All our bench picks
FAQ
What is aseptic technique in microbiology?
It is the routine for moving microbes between plates, tubes and broths without letting other microbes in and without releasing the organism: a disinfected surface, sterilized loops, and containers opened briefly and at an angle.
Is aseptic technique the same as sterile technique?
In everyday lab speech, yes. Strictly, "sterile" is a state (no living microbes) and "aseptic" is the method that keeps sterile things in that state.
Do I need a Bunsen burner?
No. Sterile disposable loops on a disinfected bench, or work in a biosafety cabinet, need no flame, and many labs have dropped open flames for safety. Metal loops still need heat, from a flame or an electric sterilizer.
Why are plates incubated upside down?
Condensation forms on the inside of the lid. With the agar side up, drops fall onto the lid instead of running across the colonies.
Working this out at the bench? The Doubling time calculator shows the formula with your numbers.
This explainer is general information, not medical advice. Decisions about treatment, donation or trials belong with a clinician who knows your history.